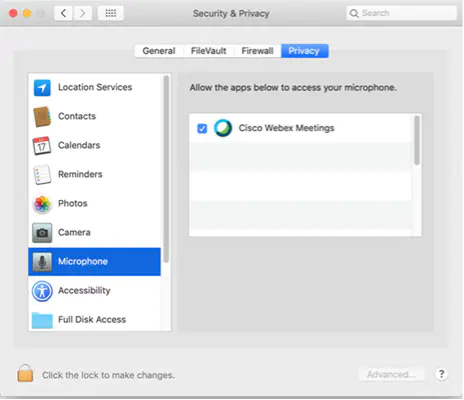
Accessing the Microphone
To use your microphone during meetings, click OK after this prompt appears. If you click Don't Allow, you can still grant permissions in your device's System Preferences > Security & Privacy. Go to the Privacy tab, and in the Microphone section, enable Cisco Webex Meeting.
Accessing the Camera
To use your camera during meetings, click OK after the prompt appears.
If you click Don't Allow, you can still grant permissions in your device's System Preferences > Security & Privacy. Go to the Privacy tab, and in the Camera section, enable Cisco Webex Meeting.
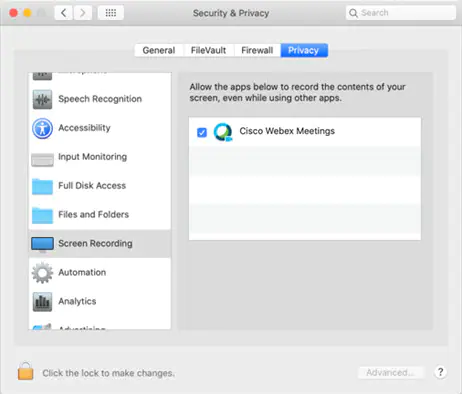
Accessing Screen Recording
To use screen recording and sharing during meetings, click OK after the prompt appears.
If you click Don't Allow on the desktop app, you can still grant permissions in your device's System Preferences > Security & Privacy. Go to the Privacy tab, and in the Screen Recording section, enable Cisco Webex Meeting.
If you click, Don't Allow on the web app, enable permissions for the web browser you're using.
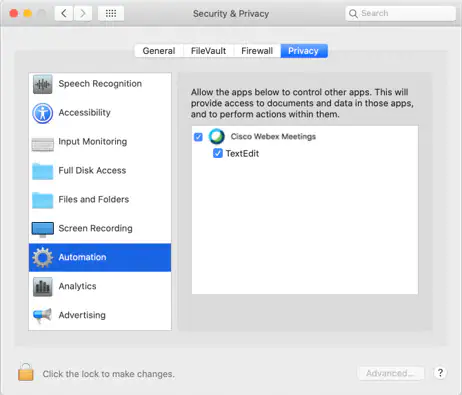
Sharing from a Third-Party App
To share content from third-party apps during meetings, click OK after the prompt appears.
If you click Don't Allow, you can still grant permissions in your device's System Preferences > Security & Privacy. Go to the Privacy tab, and in the Automation section, enable the apps under Cisco Webex Meeting.
For more information, please visit the following sites:
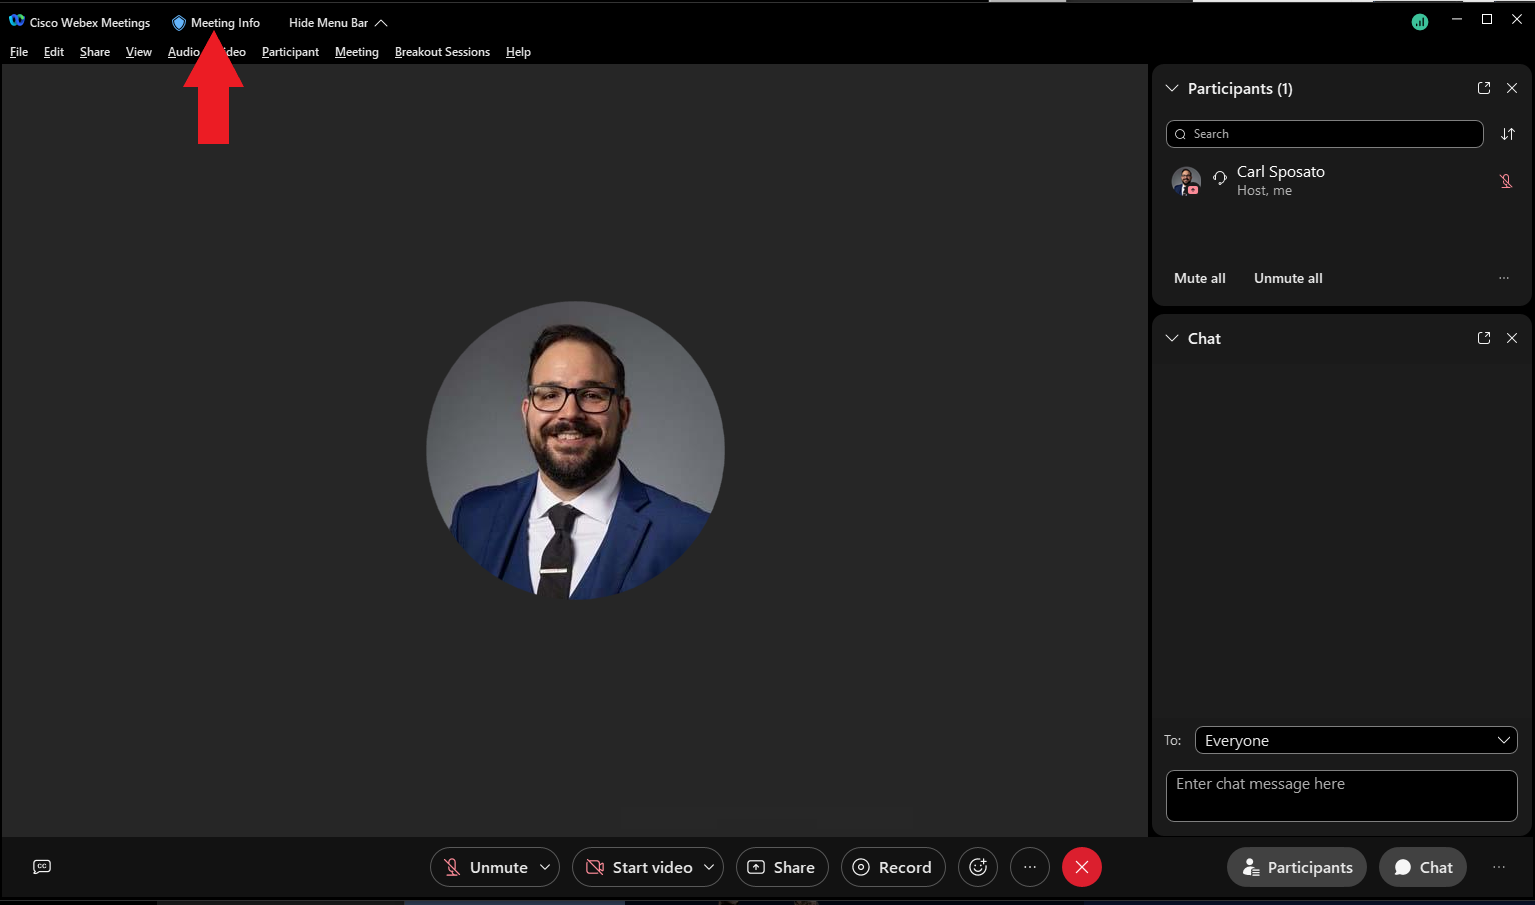
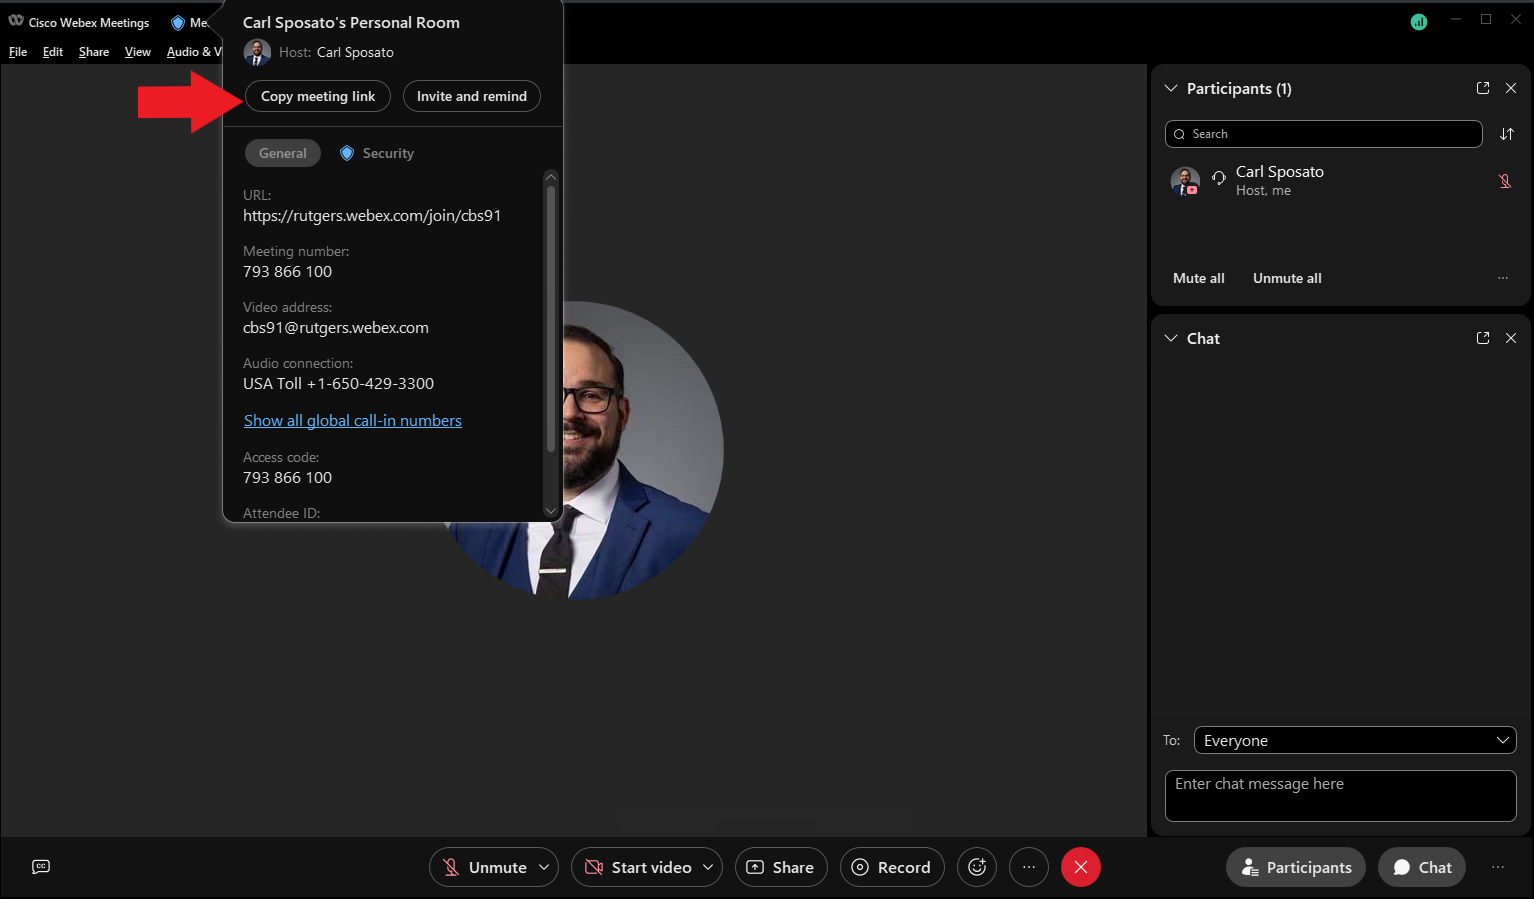
You can always access the meeting link within the active meeting by clicking on the meeting information icon that looks like a shield in WebEx or the meeting information icon that looks like a shield in Zoom, copying the link to your clipboard and pasting it into a mail or other message.
Please be aware that some students using Office 365 may get sent erroneous Microsoft Teams meetings link if their calendar item was not set up correctly.
First, see if the user is using the system speakers or a headset; make sure the system audio is not muted by checking the volume indicator and increasing the volume to ensure the system is not muted. Check to see what the correct output is selected in the remote client software; In Zoom and WebEx, by clicking on the arrow next to the microphone icon, you can change your selected audio input and output and access the sound setup and test panel. If using a Mac, please check the privacy and security permissions are enabled for the speakers.
Click Audio options ![]() , then click Settings.
, then click Settings.
Use the sensitivity sliders to adjust your speaker and microphone volume. You can select Automatically adjust the volume for your microphone volume.
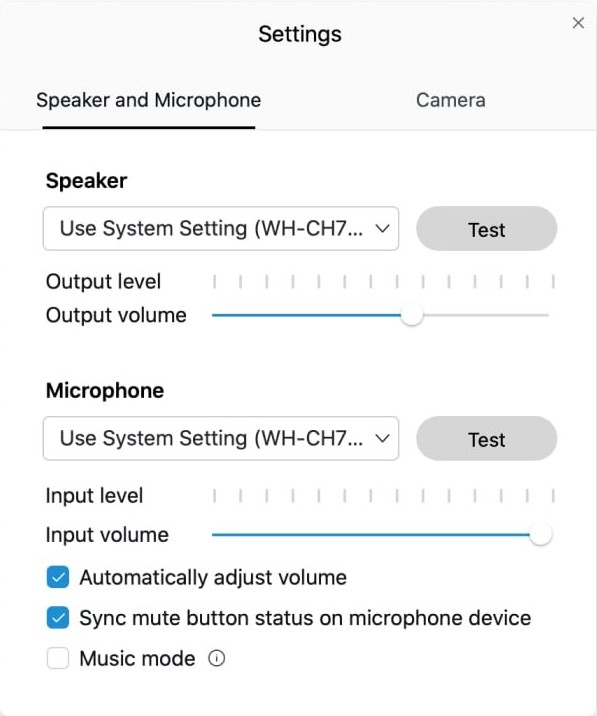
Select Test under Speaker to hear the volume at its current setting.
Select Test under Microphone, then speak to record a clip of your microphone audio. You can hear the current volume when the clip plays back.
First, ask if they intend to use the system's built-in microphone or a headset. If using a headset, ask the user to make sure their mute is not active on the headset; some headsets will have volume and mute buttons on the cord, some will have this on the headphones, some you may need to make sure the microphone boom is lowered into talking position to ensure it is working. If using a Mac, please check the privacy and security permissions are enabled for the Microphone.
For more detailed information, please visit the following sites:
Adjust your computer mic and speaker volume in a Webex Meeting
Open the Participants panel and locate the attendee that you want to make a cohost.
Right-click the attendee’s name and then select Change Role > Make Cohost
- Please note, Make Cohost is dimmed for attendees joining from unsupported applications.